
Manage Instructor Images in SFQlink
Introduction
This short guide provides guidance on uploading instructor images via the SFQlink tool for use in Blue. Instructor images provide students with additional certainty on who they are providing feedback to, particularly for courses with multiple instructors.
Process
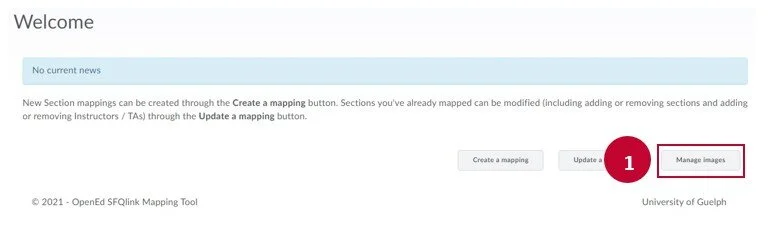
- From the SFQlink homepage, select Manage images.
- On the Manage image page, select Create.

Location of the Create button button for instructor images
- Enter the instructor’s CCS Login ID, the first part of their @uoguelph.ca email. This will narrow down to provide an option to select. Selecting the instructor’s name will automatically populate the Last Name, First Name, and Email fields.
- Click Choose File and select the image to upload. Images must be:
- JPEG, JPG, or PNG format,
- 40 pixels by 40 pixels.
- If you require support for cropping images to the appropriate size, please see Crop and resize instructor images for SFQlink
- Click Submit to complete the process.

- Once the upload is completed, you will be returned to the Manage Instructor Images page. Here you will have the option to edit or delete any of the images you have uploaded.
- Edit will allow you to update the image associated with the instructor.
- Delete allows you to remove the image associated with the instructor.

Related Tools
CEVAL (CCS)
Need More Help?
If you're still having trouble, please contact the CourseLink Support team for assistance.