
Navigating i:Create
Pilot Participants Only
The information on i:Create is intended for participants in the i:Create Course Prep Pilot Project only.
If you are not part of this pilot project, please refer to the course prep instructions provided by your online learning quality assurance specialist at Open Learning and Educational Support.
Your Course in i:Create
Once signed into i:Create, your current semester course or most recent course will be displayed in the menu bar.

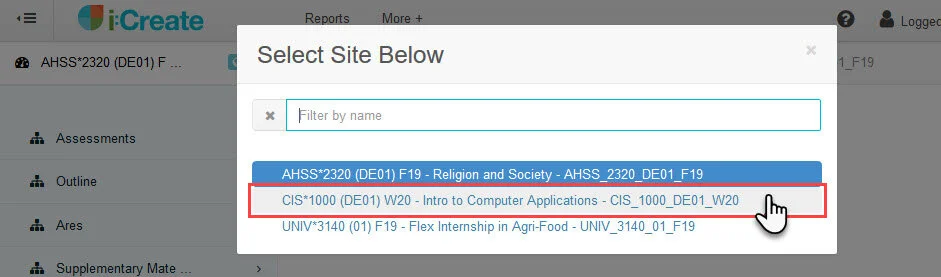
If you are teaching more than one current course as a Distance Education instructor, additional courses can be accessed by clicking on the ‘switch site’ menu.

Clicking within the menu will allow you to switch to another Distance Education course site from the list of courses you are instructing.
After selecting a course to work with, all of the available content pages will be listed in the main window. Main areas of the i:Create course dashboard are described and pictured below.
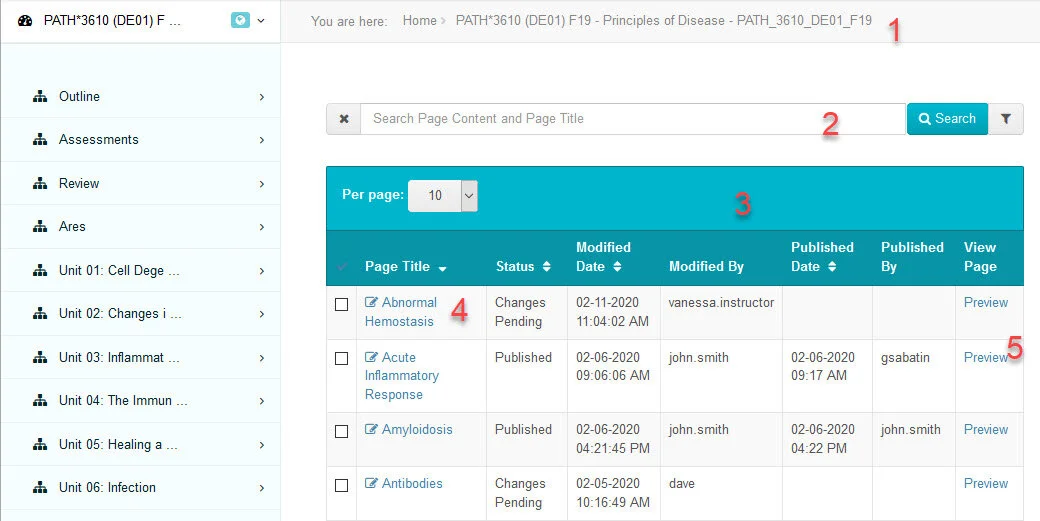
You are here: displays the course you are currently working in, as well as the current Module if selected.
Search Bar: can be used to search for specific text in either the body or title of the documents in the course or Module you are working in, or search by criteria: Status, Publish date, etc.
Page List: all the available pages are listed here.
Edit Page: clicking on the title of the page will edit that page.
Preview: clicking on preview will show you the current state of the page in i:Create. If this page has the status of ‘Changes Pending’ this page may differ from the way the page appears in CourseLink.
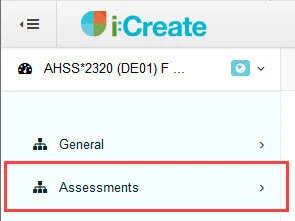
When you are looking at a course in i:Create, the course website’s table of contents will appear on the left-hand side, just as it does in CourseLink. You can navigate to specific modules or units using the table of contents. Selecting a module or unit from the left-hand list of Modules will display only the content from that particular section of your course website.
You can also use the Search Page Content and Page Title search bar to look up specific keywords, page titles, or section titles.

To edit a page, simply click on the page title. Or, for more options, click the checkbox beside the page to make the dashboard editor appear.
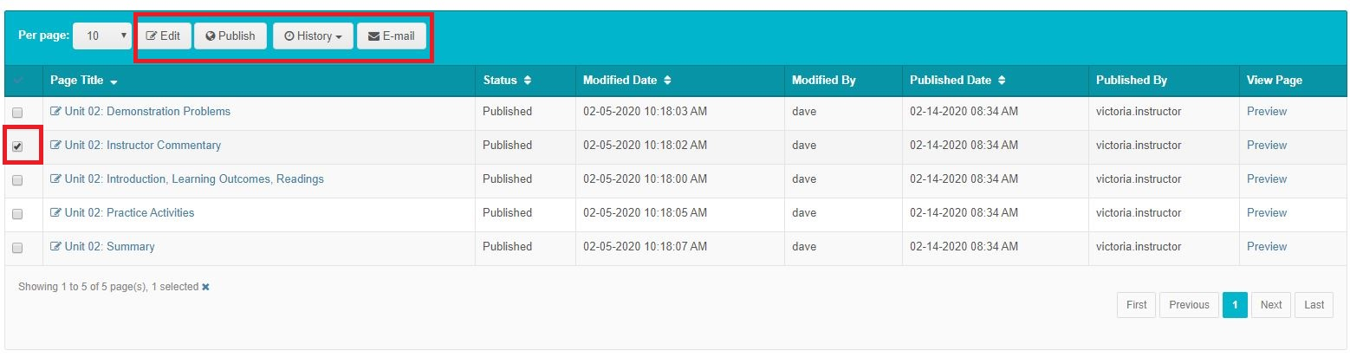
From your main dashboard, you can enter the editor, publish a page, view its editing history, or email a copy to yourself.
Edit: Only one page can be selected for editing at a time. Selecting a page and clicking ‘Edit’ takes you into the editing interface.
Publish: You can publish multiple pages at a time by selecting the checkboxes and clicking ‘Publish.’
History: View a history of revisions made to a page. From ‘History,’ you can view a mark-up of page changes (similar to the ‘track changes’ feature in Microsoft Word), an archive of previous versions of the page, and a list of the publish dates for the page.
Email: Email a copy of a page or several pages to yourself for review.