About iClicker Polls
iClicker polls are facilitated during class time. As the instructor, you navigate from question to question (along with the corresponding course content) with your class.
iClicker polls allow instructors to ask the following question types: short answer, multiple choice, multiple answer, numeric, and target. Instructors also have the option of ending the class with an exit poll to get feedback on the class. This activity type is a good option if you have class material (e.g., slideshow, image, video) that students should engage with. For example, if you have a slideshow with multiple choice questions, an iClicker poll with multiple choice responses can be used to facilitate live-time feedback. The instructional team has control over how long students have to answer each poll question, so they can gauge how long students need to review and respond to poll questions. Once the instructional team is ready to end the poll, you can grade the responses that are received and provide the correct answer. You can also share the results with your students.
iClicker Poll Settings
Prior to starting a poll in your class, you can adjust the settings.
To change the settings, please follow these steps:
- Log into the iClicker Cloud instructor website.
- Select the course you want to edit.
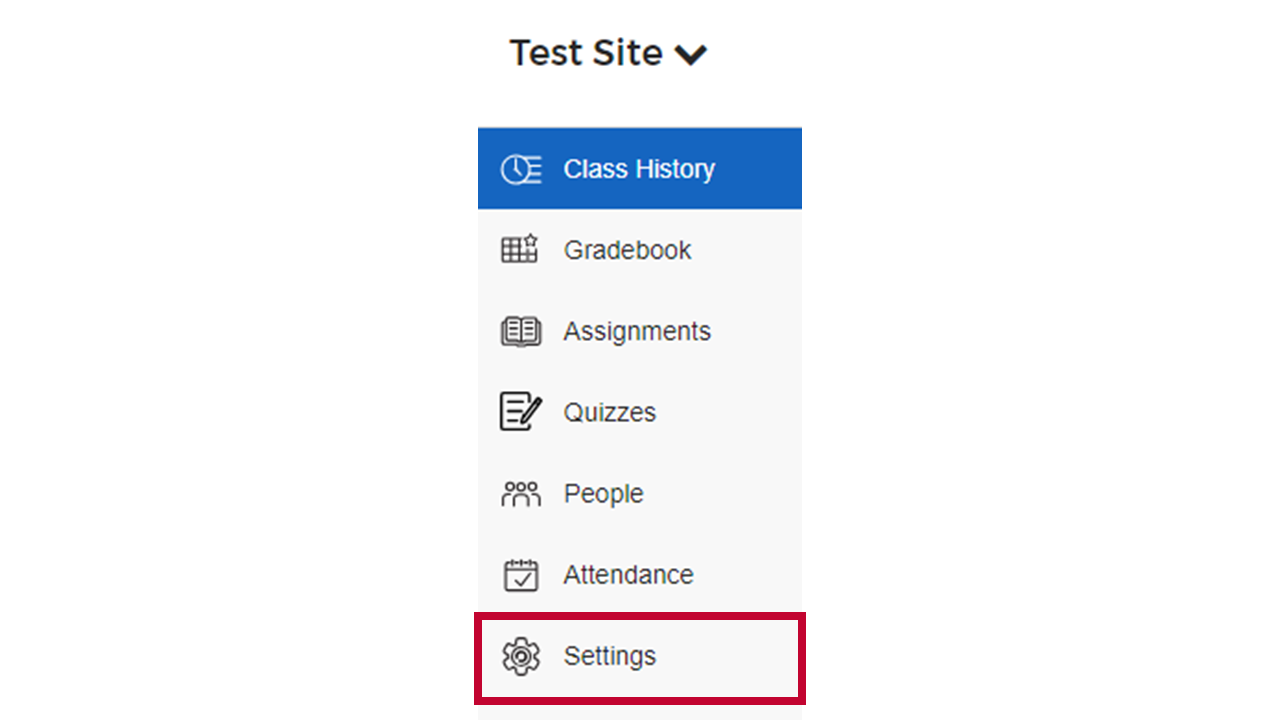
- Select Settings from the navigation bar.
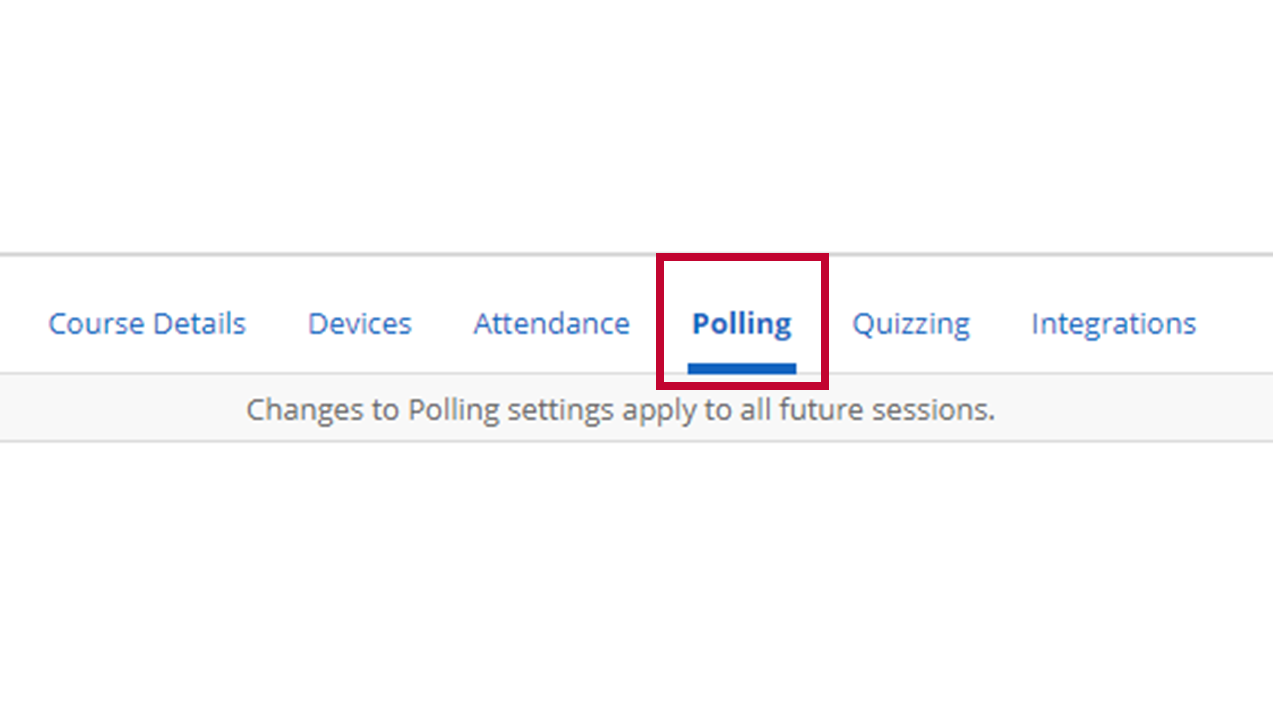
- Select Polling from the navigation bar.
The following settings can be adjusted:
- Sharing
- Send a picture of my screen to student devices.
Default: Automatically whenever polling starts. - Send class results to student devices.
Default: Automatically whenever polling ends.
- Send a picture of my screen to student devices.
- Scoring
- Session participation can be worth a numeric value based on if students respond to a certain number or percentage of questions.
Default: Participants will earn 1.00 participation points when they respond to at least 75% of the questions. - Session performance can be scored based on the number of responses or the number of correct responses. Alternatively, a specified number of points can be assigned to the entire polling session and divided among the number of graded questions.
Default: Points for correct response is 1.00. Points for responding is 0.00.
- Session participation can be worth a numeric value based on if students respond to a certain number or percentage of questions.
- Toolbar
- Count up from 0 seconds until poll is manually stopped or count down from a predefined amount of time.
Default: Count up from 0 seconds.
- Count up from 0 seconds until poll is manually stopped or count down from a predefined amount of time.
Facilitating an iClicker Poll
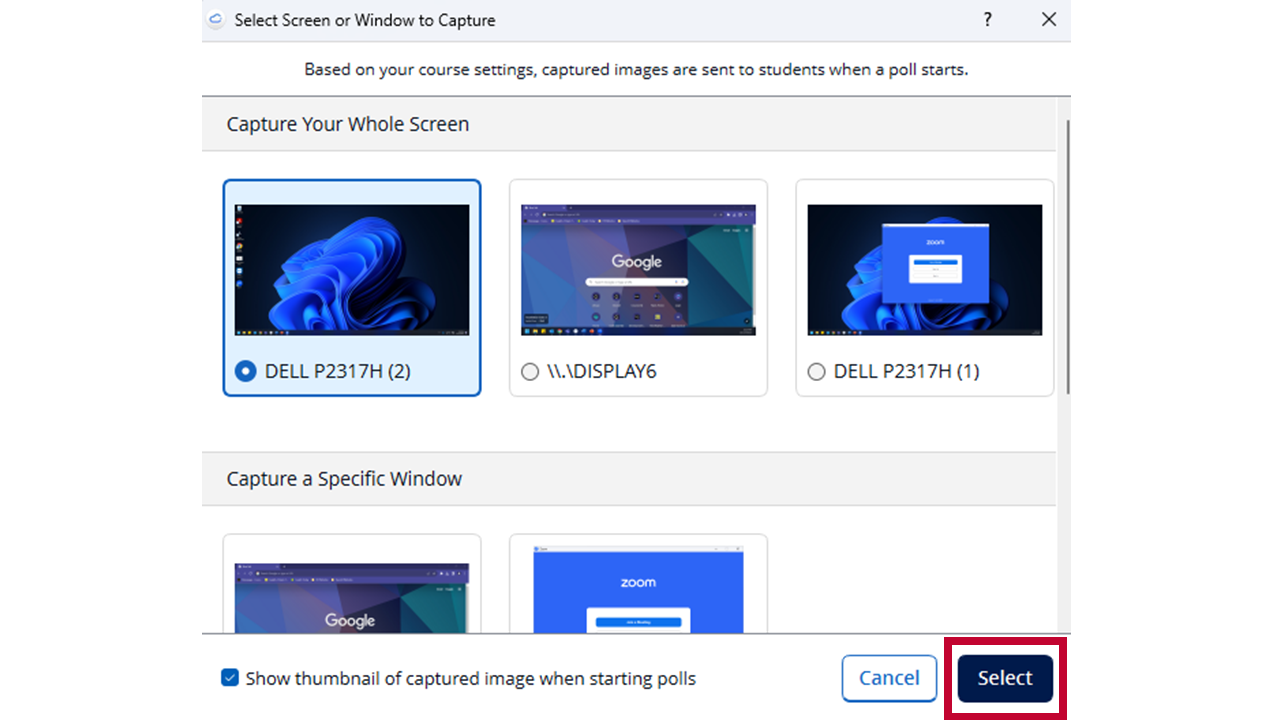
Polls can be facilitated in a number of ways, including with lectures slides, videos, and pictures. Further, it can be facilitated across course delivery methods. A key feature of facilitating a poll using iClicker Cloud is the ability to capture a screen or window associated with the poll question. Selecting a particular screen (or application window) captures a thumbnail associated with the question for later review.
To run a poll during a class, please follow these steps:
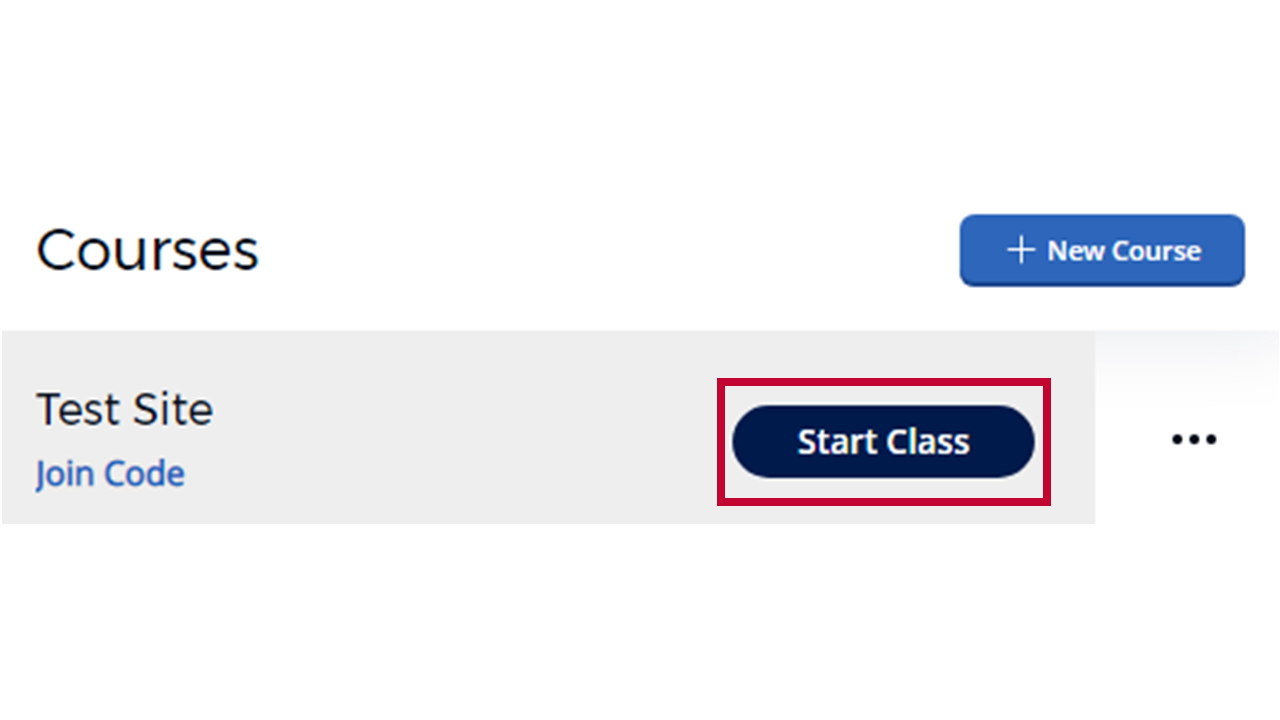
Log into the iClicker Cloud desktop app. Find your course and select Start Class.
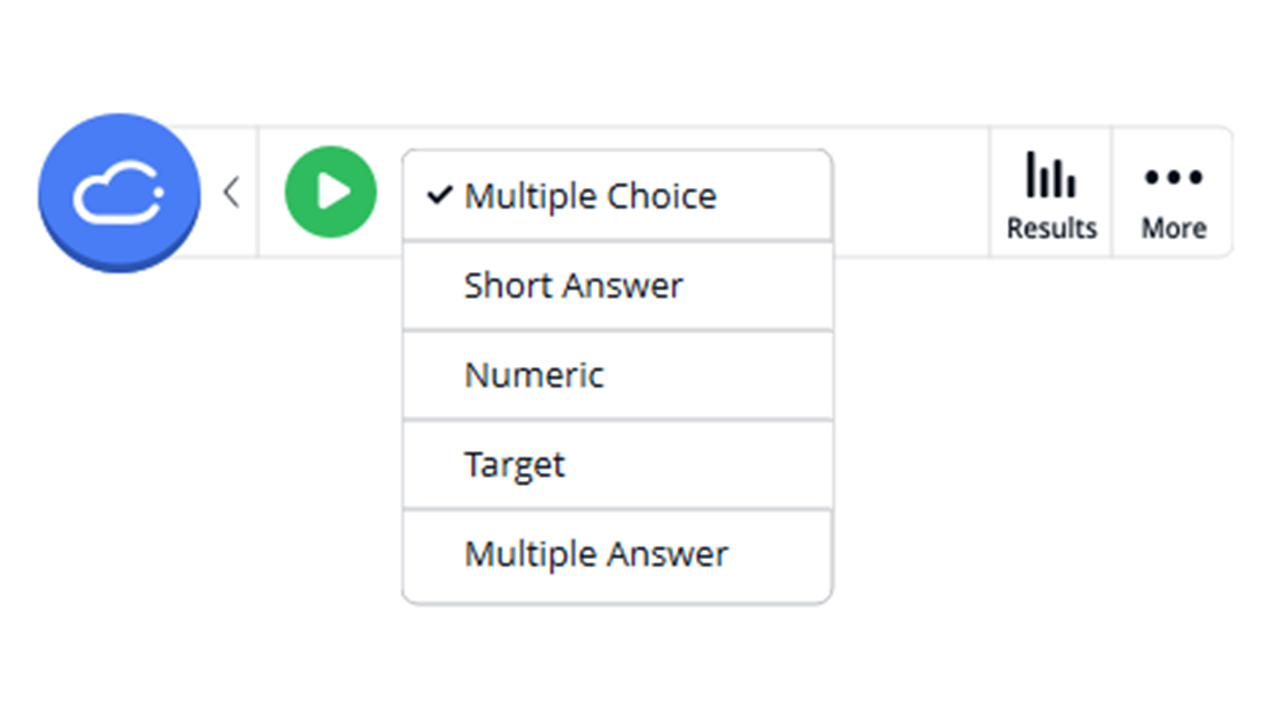
- A floating toolbar will appear. It will give you the option to (1) start a poll, (2) start a quiz, (3) view the roster, (4) view groups, or (5) end the class. Select the Poll icon.
- Choose the question type for the poll (multiple choice, short answer, numeric, target, or multiple answer).
- [Optional] Enable or disable poll features by selecting More. You can turn anonymous on or off; change the time counter to count down or up; and turn the confidence rating on or off.
- Note: If you turn on the anonymous option, the question cannot be graded.
- Click on the play button to start the poll.
Note: The first time you administer a poll in a class session, you will be asked to select the screen or window to screenshot as a thumbnail for the poll question. Whichever screen or window you select will become the default pick for each poll question that class session. You can change the screen or window by selecting More and then Select Screen.

